


Kubermatic Kubernetes Platform (KKP) Cluster Autoscaler
In a nutshell, it’s a component that automatically adjusts the size of a Kubernetes Cluster so that all pods have a place to run and there are no unneeded nodes.
What Is a Cluster Autoscaler in Kubernetes?
Kubernetes Cluster Autoscaler is a tool that automatically adjusts the size of the worker’s node up or down depending on the consumption. Autoscaler automatically scales up a Cluster by increasing the node size when there are not enough node resources for Cluster workload scheduling and scales down when the node resources are either continuously idle, or there are more than enough available for Cluster workload scheduling.
KKP Cluster Autoscaler Usage
Kubernetes Autoscaler in a KKP Cluster automatically scales up/down when one of the following conditions exists:
- When some pods fail to run in the cluster due to insufficient resources.
- When there are nodes in the cluster that have been underutilized for an extended period (10 minutes by default) and can place their Pods on other existing nodes.
How to Install Autoscaler on a KKP Cluster
You can install Kubernetes Autoscaler on a running KKP Cluster using the KKP addon mechanism, which is built into the KKP Cluster dashboard. You need a running KKP Cluster and a kubectl command-line tool configured to talk to the KKP Cluster. You can easily provision a KKP Cluster by following the steps in our documentation.
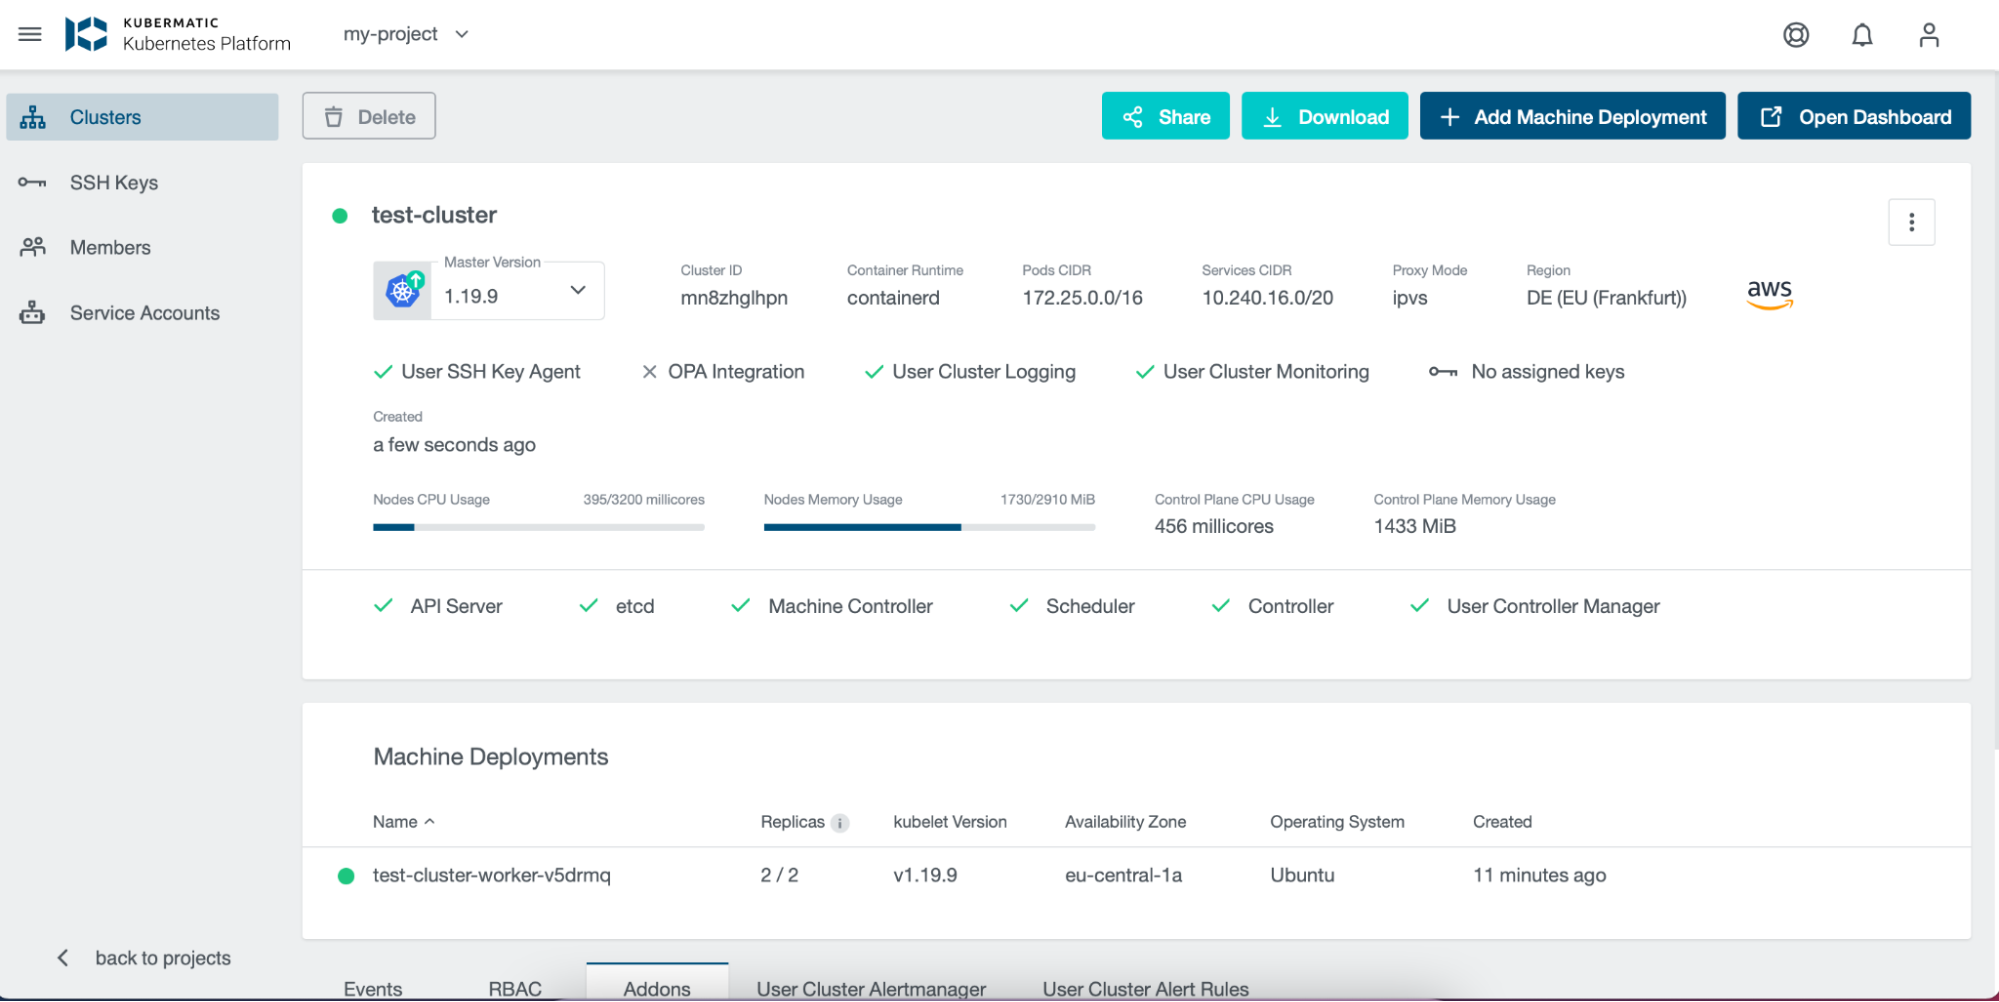
Step 1: Create a KKP Cluster using the documentation link above.
Step 2: When the Cluster is ready, check the Pods in the kube-system Namespace to determine if Autoscaler is running.
$ kubectl get pods -n kube-system

NAME                       READY   STATUS    RESTARTS   AGE

canal-gq9gc                2/2      Running     0       21m

canal-tnms8                2/2      Running     0       21m

coredns-666448b887-s8wv8   1/1      Running     0       25m

coredns-666448b887-vldzz   1/1      Running     0       25m

kube-proxy-2whcq           1/1      Running     0       21m

kube-proxy-tstvd           1/1      Running     0       21m

node-local-dns-4p8jr       1/1      Running     0       21m
In this case, Autoscaler is not one of the running Kubernetes components within the Namespace.
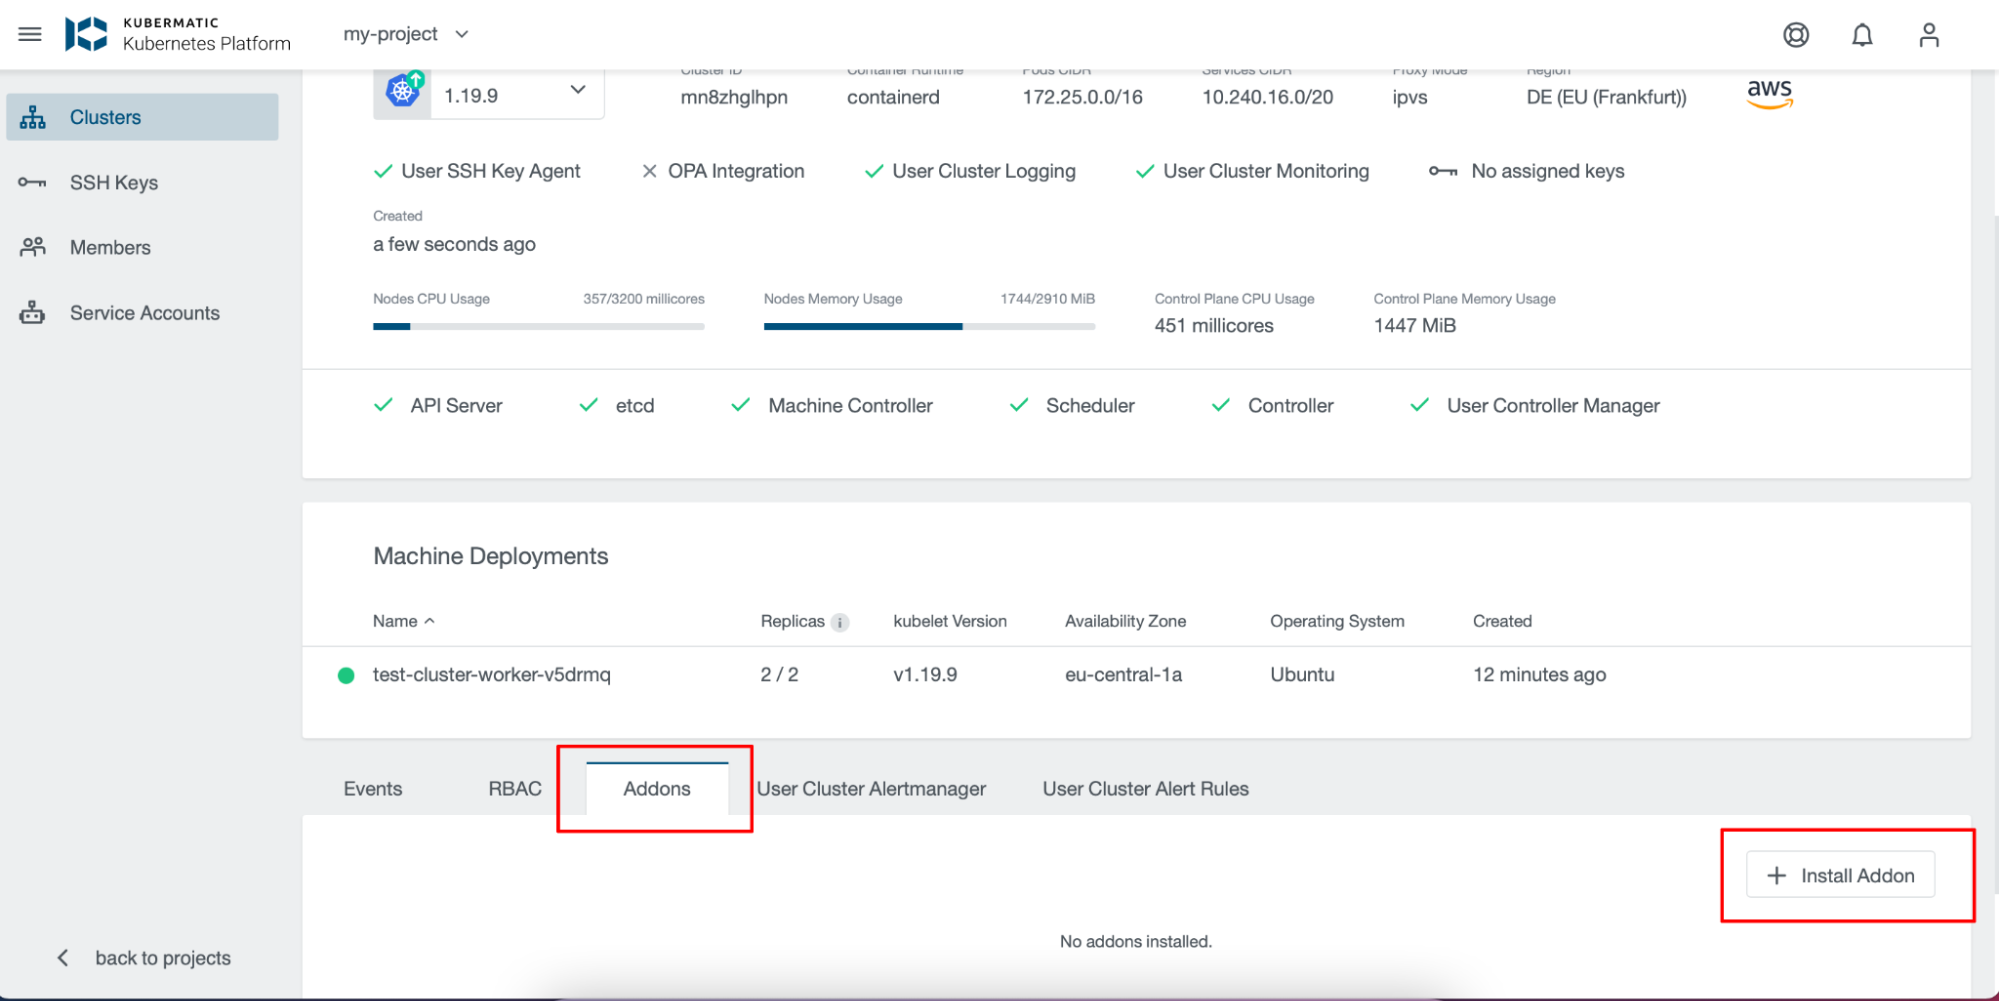
Step 3: Add Autoscaler to the Cluster in the addon section on the dashboard. Click on Addons and then Install Addon.
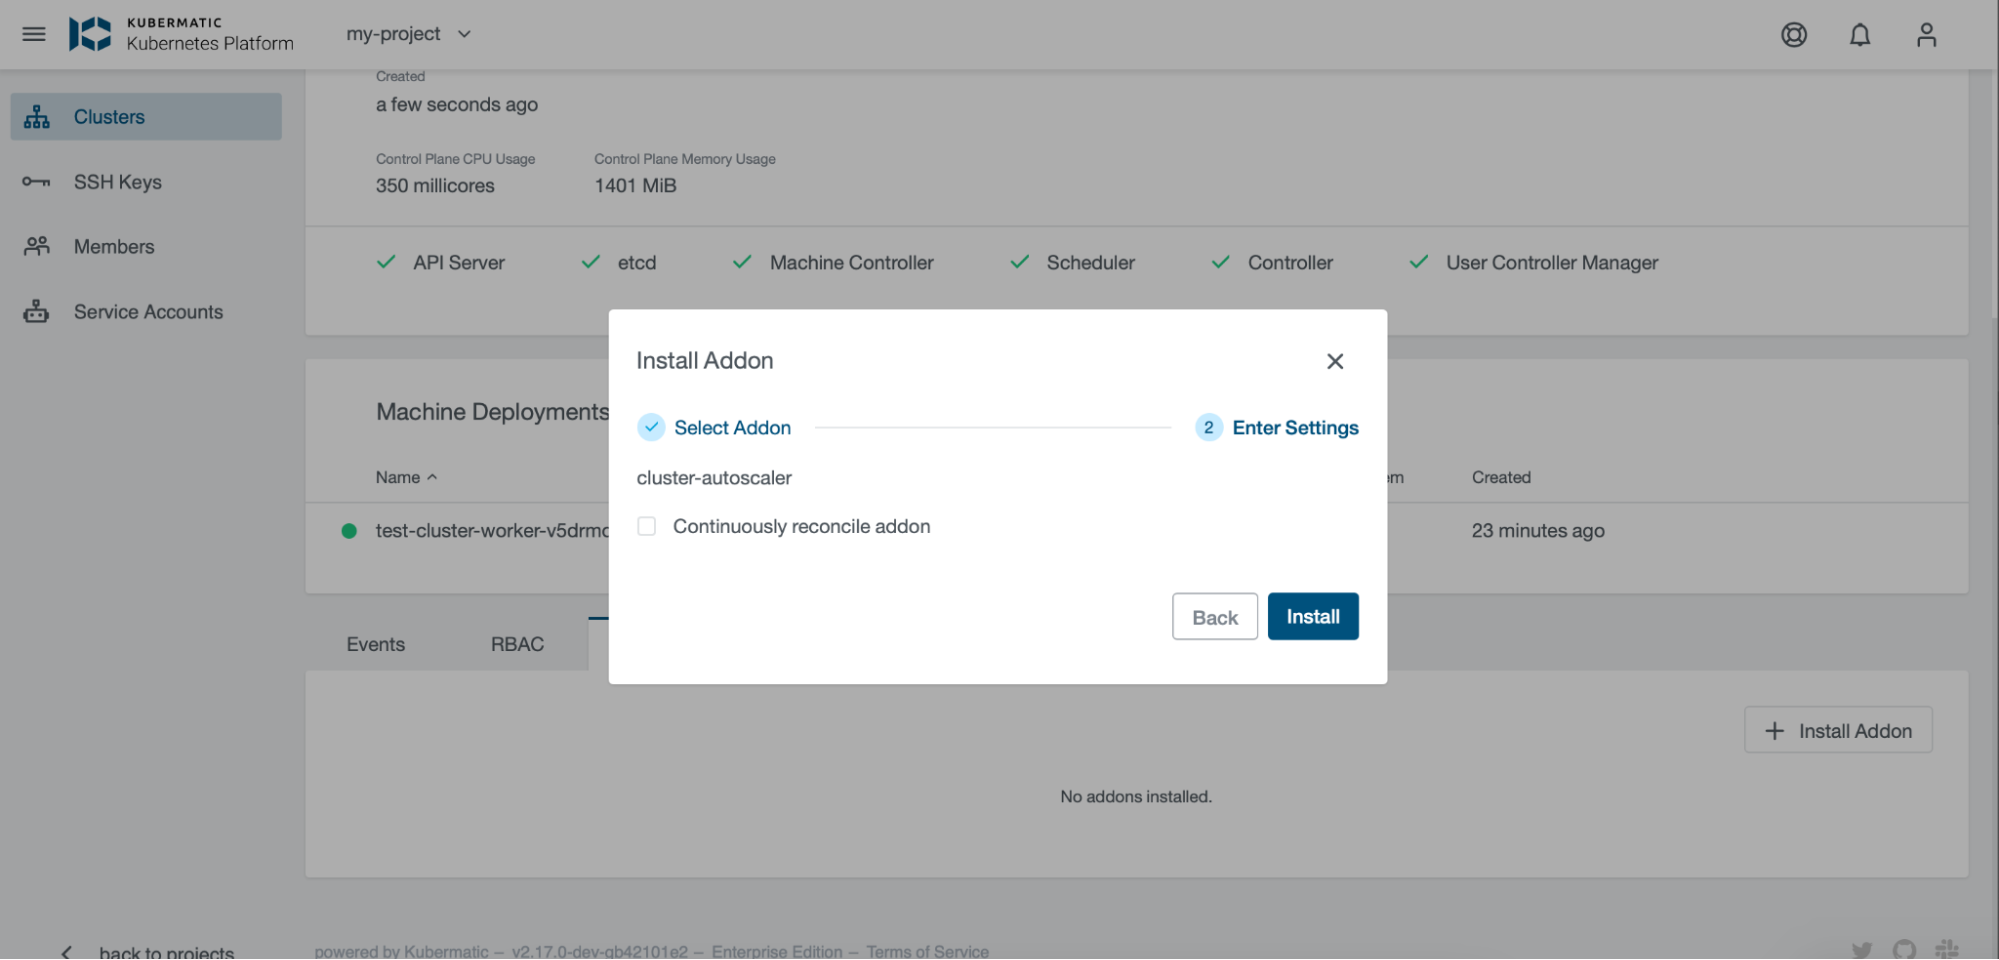
Select Cluster-Autoscaler

Select install
Step 4: Check the Pods in the kube-system Namespace again using the kubectl command.
$ kubectl get pods -n kube-system

NAME                                   READY      STATUS    RESTARTS   AGE
canal-gq9gc                          	2/2       Running   	0      32m
canal-tnms8                           	2/2       Running   	0      33m
cluster-autoscaler-58c6c755bb-9g6df   	1/1       Running   	0      39s
coredns-666448b887-s8wv8              	1/1       Running   	0      36m
coredns-666448b887-vldzz              	1/1       Running  	0      36m
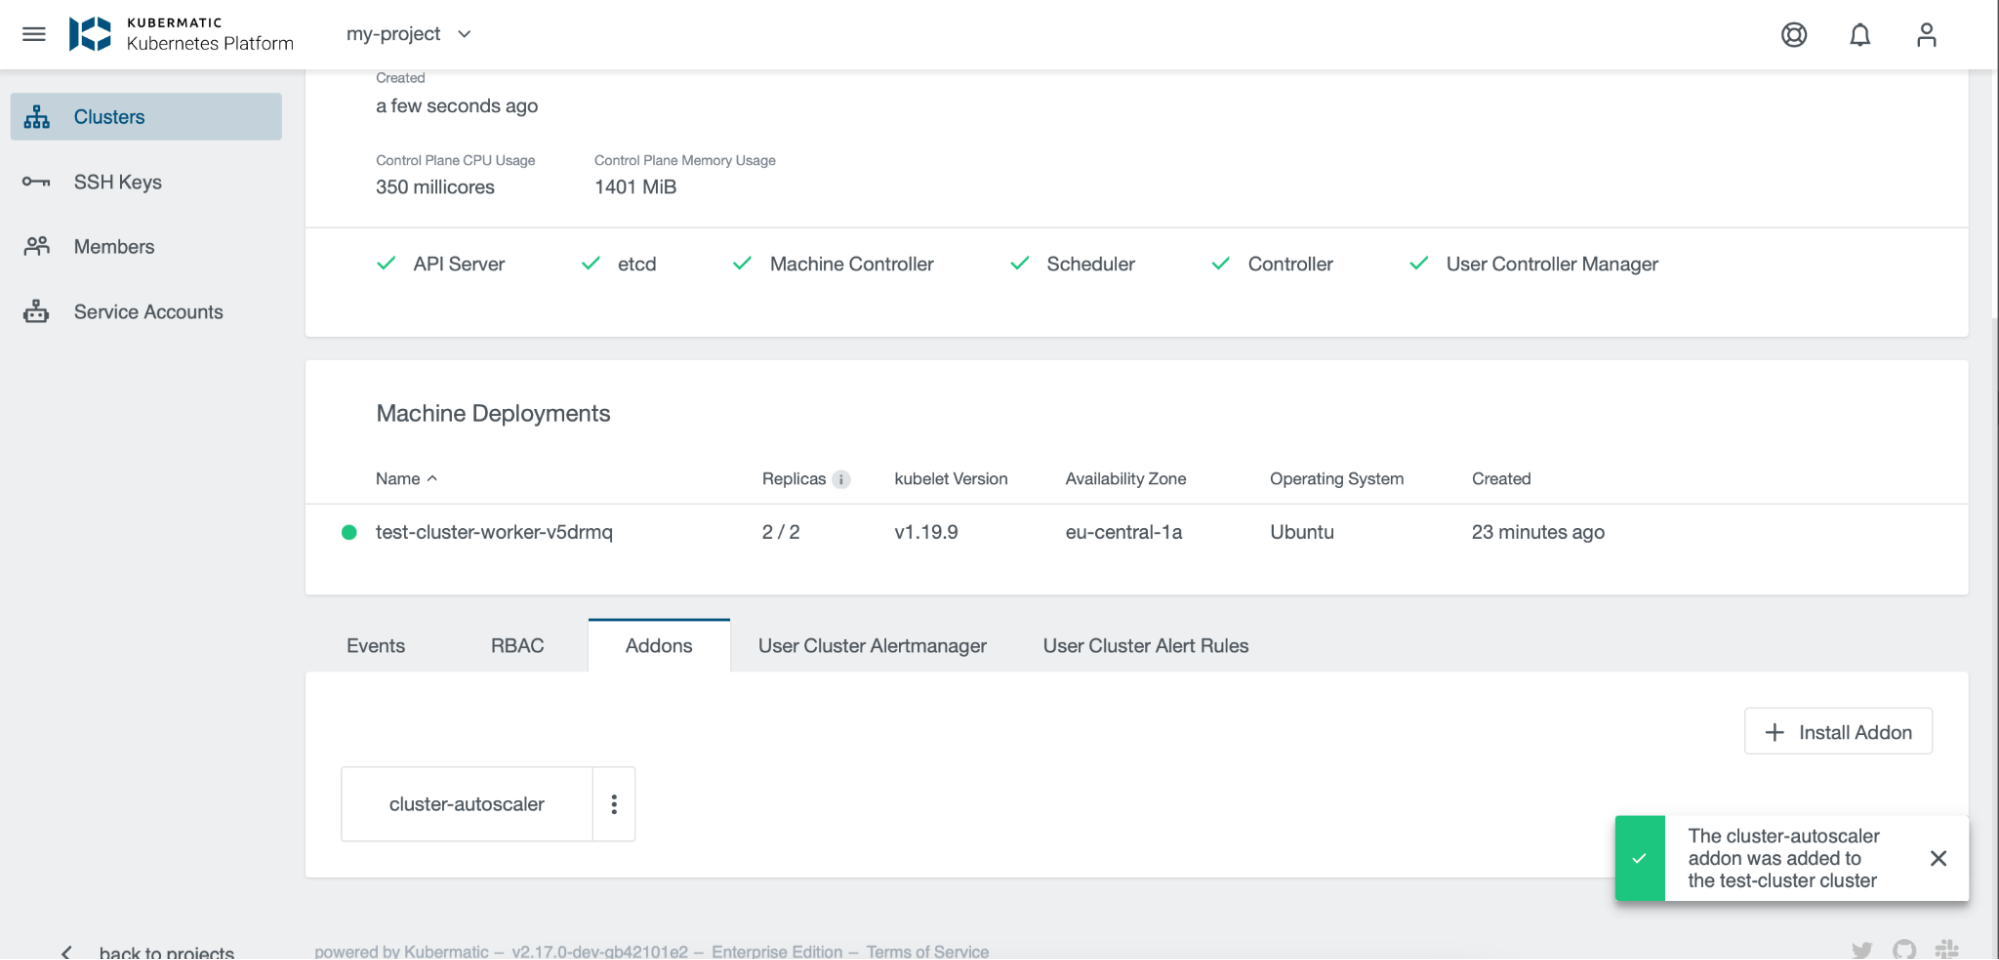
In the above output, Autoscaler has now been created and is running.
Summary: Congratulations! You have successfully deployed a Kubernetes Autoscaler on a KKP Cluster for more efficient management of your pods and nodes! The next post will focus on how to annotate the desired MachineDeployments for Autoscaling. Please check out the Learn More section below for more resources on Kubernetes Autoscaler and how to provision a KKP Cluster.
Learn More
- Read more on Kubernetes autoscaler
- Learn more on how you can easily provision a Kubernetes Cluster using KKP
- Watch the KKP demo: Automate Your Clusters Across Multi-Cloud with Kubermatic Kubernetes Platform


