


Introduction
Let’s talk about virtual machines. Can we all agree that Kubernetes and cloud native technologies rock and the cool kids do not want to run VMs anymore?
Except that sometimes it actually doesn’t make sense to containerize your workloads. If, for example, your application runs in a VM and requires specific kernel settings. Or if you are running a business-critical legacy application, which would require way too much of an effort to migrate.
So, when you think about modernizing your infrastructure, you might ask yourself questions like: Do I have to rewrite an application (again) so that it will keep doing its job properly? Or do I use my time, money and rather meagre development resources to focus on the next issue and leave the other one in its “still manageable” state?
This is where KubeVirt comes in. KubeVirt is an open source technology and CNCF sandbox project that elegantly addresses the needs of development teams that have adopted or want to adopt Kubernetes, but have Virtual Machine-based workloads. In fact, the technology provides a unified development platform where developers can build, modify, and deploy applications residing in both Application Containers, as well as Virtual Machines, in a common, shared environment. (Source: https://kubevirt.io/)
Why Have We Integrated KubeVirt Into the KKP?
At Kubermatic, we strive to build the world’s most adaptable software delivery platform. With the Kubermatic Kubernetes Platform you can operate state-of-the-art infrastructure without the need to re-write everything first or manage two systems in parallel. So it was rather obvious to us to integrate KubeVirt, to enable you to run VMs and containers side by side and from a single UI.
Using KubeVirt is simple. You can either use it as an enabler to run side-by-side virtual machines and containers, or it can be rolled out as a complete bare-metal orchestration, based entirely on Kubernetes.
How to Deploy KubeVirt With Kubermatic Kubernetes Platform
To use Kubevirt with Kubermatic, you should first create a cluster via the Kubermatic UI. Use this tutorial to guide you on how to do that. You will then deploy your Kubevirt operator to that cluster.
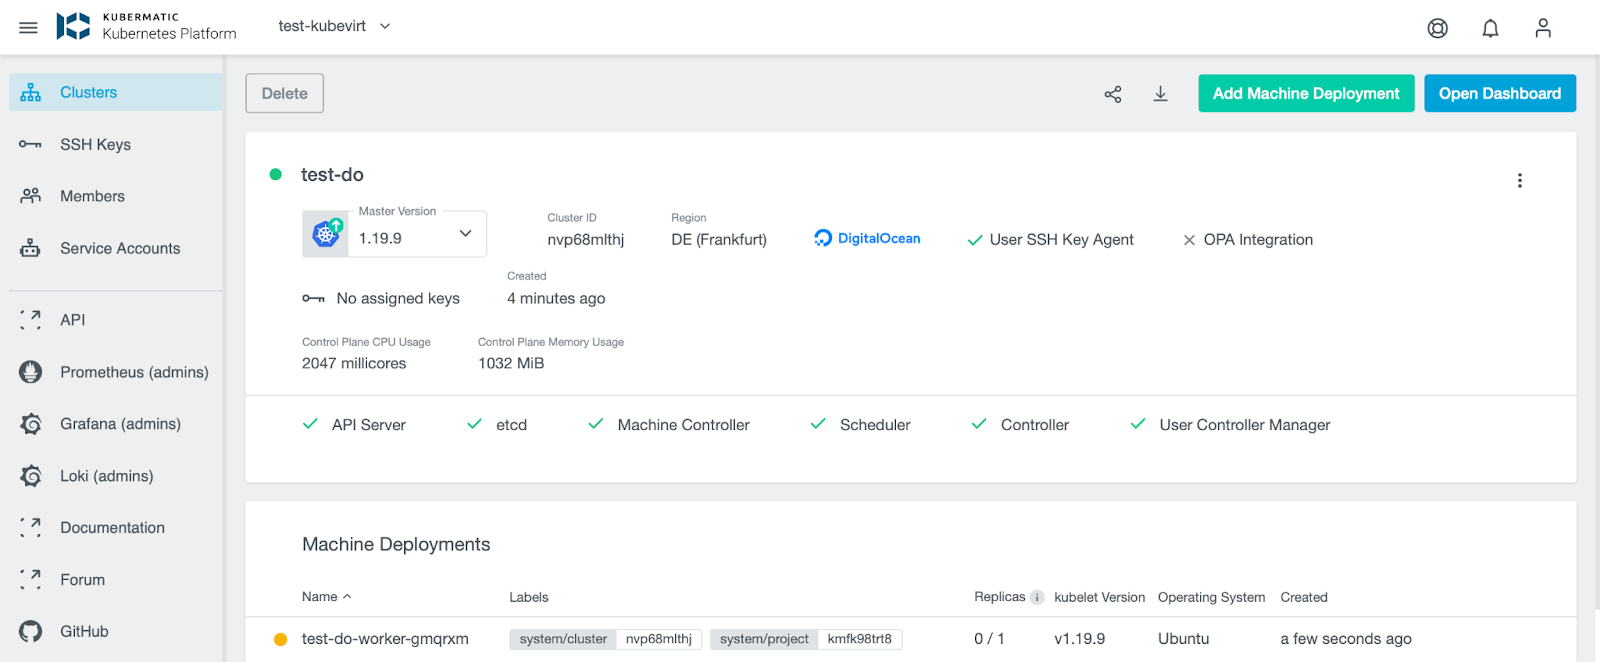
Here is a screenshot of a cluster created in the UI.
When the cluster is fully instantiated, download the kubeconfig as shown in this article and connect your kubectl to that kubeconfig.
export KUBECONFIG=link/to/your/downloaded/kubeconfig
The next step is to deploy the Kubevirt operator. First, execute the following in your console to get the newest Kubevirt version.
export VERSION=$(curl -s https://api.github.com/repos/kubevirt/kubevirt/releases | grep tag_name | grep -v -- '-rc' | sort -r | head -1 | awk -F': ' '{print $2}' | sed 's/,//' | xargs)
Test it with:
echo $VERSION
You should see a version like v0.44.1.
Now execute the following to install the current Kubevirt operator.
kubectl create -f https://github.com/kubevirt/kubevirt/releases/download/${VERSION}/kubevirt-operator.yaml
You should see the following output:
namespace/kubevirt created
customresourcedefinition.apiextensions.k8s.io/kubevirts.kubevirt.io created
priorityclass.scheduling.k8s.io/kubevirt-cluster-critical created
clusterrole.rbac.authorization.k8s.io/kubevirt.io:operator created
serviceaccount/kubevirt-operator created
role.rbac.authorization.k8s.io/kubevirt-operator created
rolebinding.rbac.authorization.k8s.io/kubevirt-operator-rolebinding created
clusterrole.rbac.authorization.k8s.io/kubevirt-operator created
clusterrolebinding.rbac.authorization.k8s.io/kubevirt-operator created
deployment.apps/virt-operator created
You should now execute the following to apply Kubevirt custom resource definitions.
kubectl apply -f kubevirt-cr.yaml
Creating a Virtual Machine With KubeVirt
Kubevirt provides a YAML file that defines an example of a virtual machine.
apiVersion: kubevirt.io/v1
kind: VirtualMachine
metadata:
  name: testvm
spec:
  running: false
  template:
    metadata:
      labels:
        kubevirt.io/size: small
        kubevirt.io/domain: testvm
    spec:
      domain:
        devices:
          disks:
            - name: containerdisk
              disk:
                bus: virtio
            - name: cloudinitdisk
              disk:
                bus: virtio
          interfaces:
          - name: default
            bridge: {}
        resources:
          requests:
            memory: 64M
      networks:
      - name: default
        pod: {}
      volumes:
        - name: containerdisk
          containerDisk:
            image: quay.io/kubevirt/cirros-container-disk-demo
        - name: cloudinitdisk
          cloudInitNoCloud:
            # "Hi." in base64
            userDataBase64: SGkuXG4=
You can apply it as follows:
kubectl apply -f https://kubevirt.io/labs/manifests/vm.yaml
Conclusion
Now that you have seen the Kubermatic way of how to activate and operate KubeVirt, we hope that you’ll remember these key benefits:
- You don’t have to throw everything away
- Don’t re-write when you don’t have to
- You don’t have to operate two systems in parallel
Learn More About KubeVirt
If you would like to learn more about KubeVirt, you can visit the following sites:


